

Using the ERGOtool to remove a Gas Cylinder from an Office Chair
Often referred to as a Gas Lift, the Gas Cylinder is critical to the everyday operation of your Office Chair. When they wear out your Chair may have a sinking feeling as it does not maintain its height or turn as smoothly as it used to.
Have you discovered that when you go to replace your Gas Cylinder, whatever you do, you cannot remove the old gas lift from the Chair. The Internet is full of Videos showing how to remove an old gas cylinder with duct tape, a pipe wrench and some WD40, which makes it look easy. Yet are you finding that yours will not budge whatever you try.
You are not alone, gas lifts or cylinders settle in over time and can be very difficult to remove.
Ergohuman Australia now have available an innovative new gas cylinder removal tool that takes the hard yakka out of removing your old gas cylinder. No more messing around with duct tape and a pipe wrench, although WD40 may still come in handy. The ERGOtool clamps onto your old gas lift and extracts it from the seat base of your Chair.
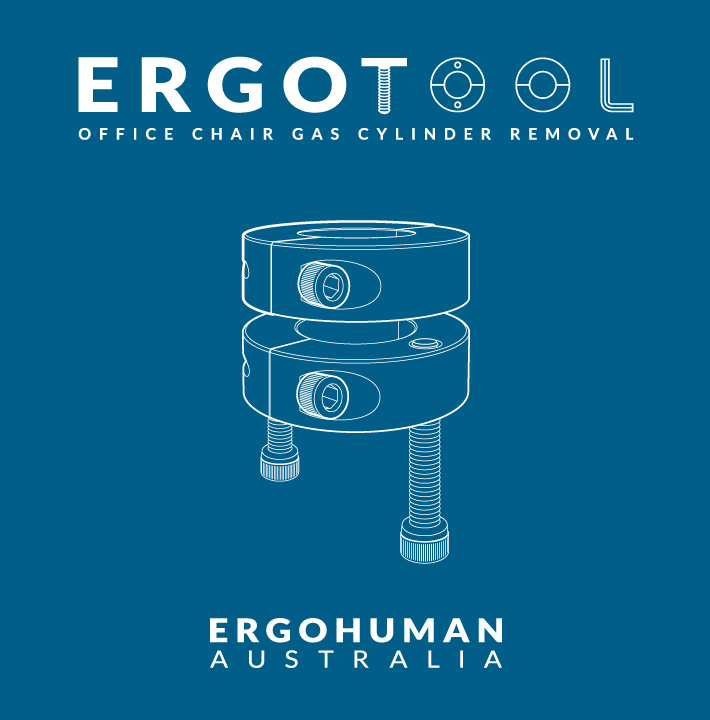
What comes with the ERGOtool
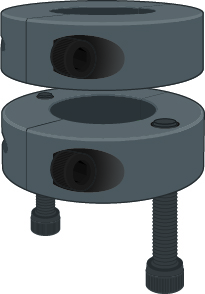
- Sliding Collar (with no through holes)
- Anchor Collar (with 2 through holes)
- Through Screws (2)
- Allen Key
The Steps to remove your old gas cylinder
- Firstly, extend the gas cylinder as far as it will go to provide some working room.
- Nest remove the wheel base from the bottom of the gas cylinder. This is usually relatively easy to remove with a rubber mallet and some WD40 if it is stubborn.
- Open both Collars by removing one of the attachment screws and loosening the other.
- Attach the Sliding Collar on the shaft of the gas cylinder under the seat base and tighten while keeping it slightly loose so it will slide along the shaft.
- Attach the Anchor Collar underneath the Sliding Collar and position it so the sliding collar is between it and the seat base.
- Tighten the Anchor Collar as tight as possible on the shaft so it cannot move
- Insert the Through Screws into the Through Holes until they come through and start pushing against the Sliding Collar.
- Using the Allen Key, alternate the tightening of the screws to apply pressure on the Sliding Collar until the Gas Cylinder pops out of the seat base. This could take between 8-12 rotations on each screw.
- Remove the Collars and keep them until you need them again.
You are now ready to install your new Gas Cylinder and eradicate that sinking feeling.
All replacement Ergohuman gas cylinders come with the ERGOtool to make removing your old gas lift or cylinder easy. The instruction guide for the ERGOtool is here.
Note: Occasionally a Gas Cylinder that has not been removed after many years of use can still be stubborn. Apply some WD40 and allow it to sink in overnight before attempting again. They eventually release their grip.